Installation Guide
Step 1 - Cut the Sleeve
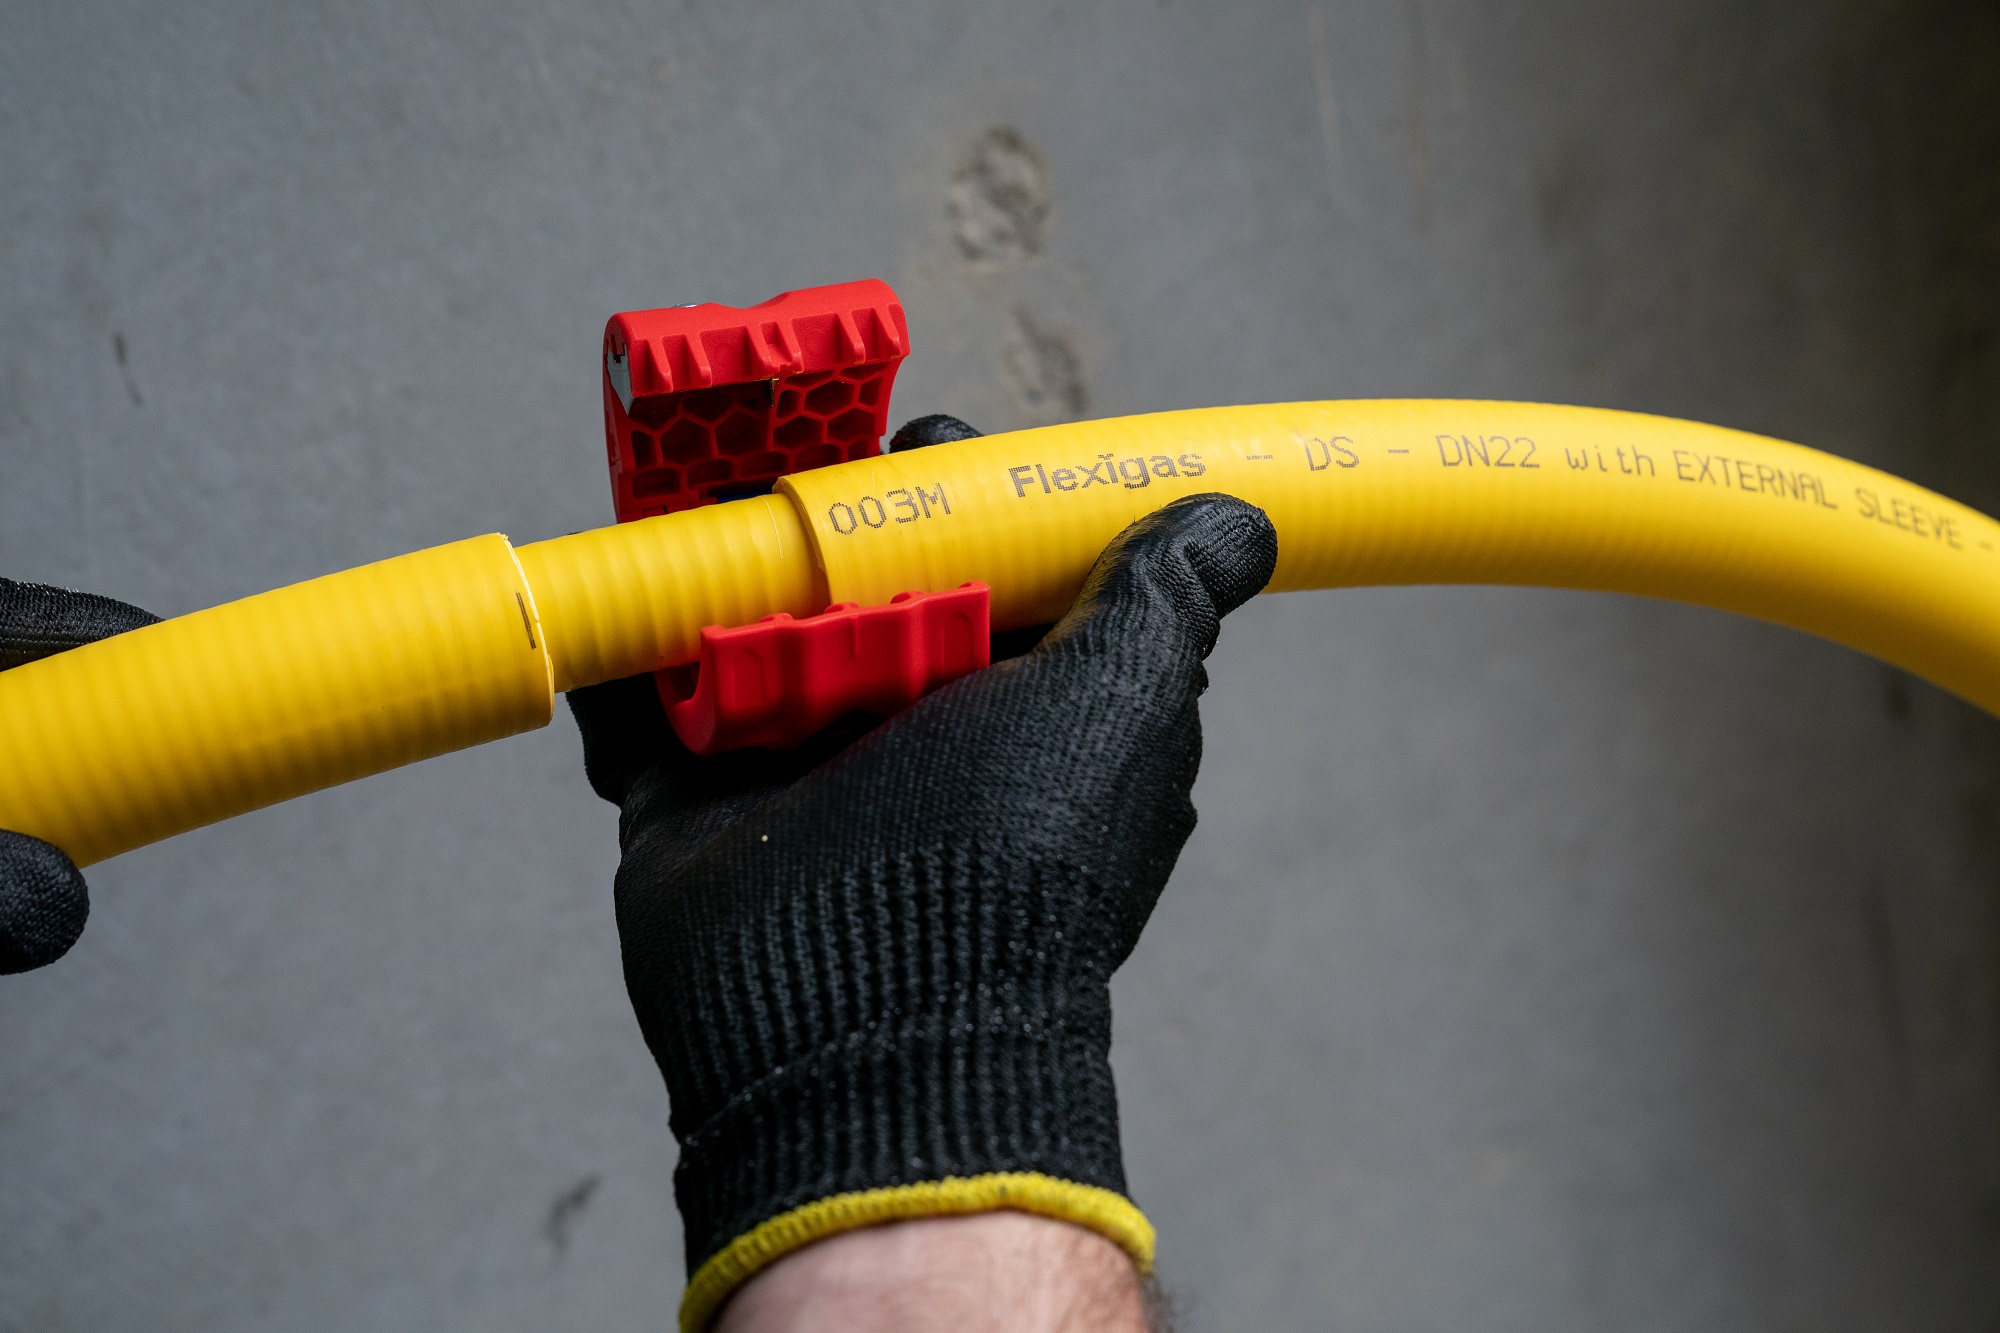
Cut the Flexigas DS™ external sleeve with the Flexigas™/ Knipexsleeve cutter. Slide the external sleeve apart, to expose a section of the Flexigas™ CSST inside.
Step 2 - Cut the inner CSST
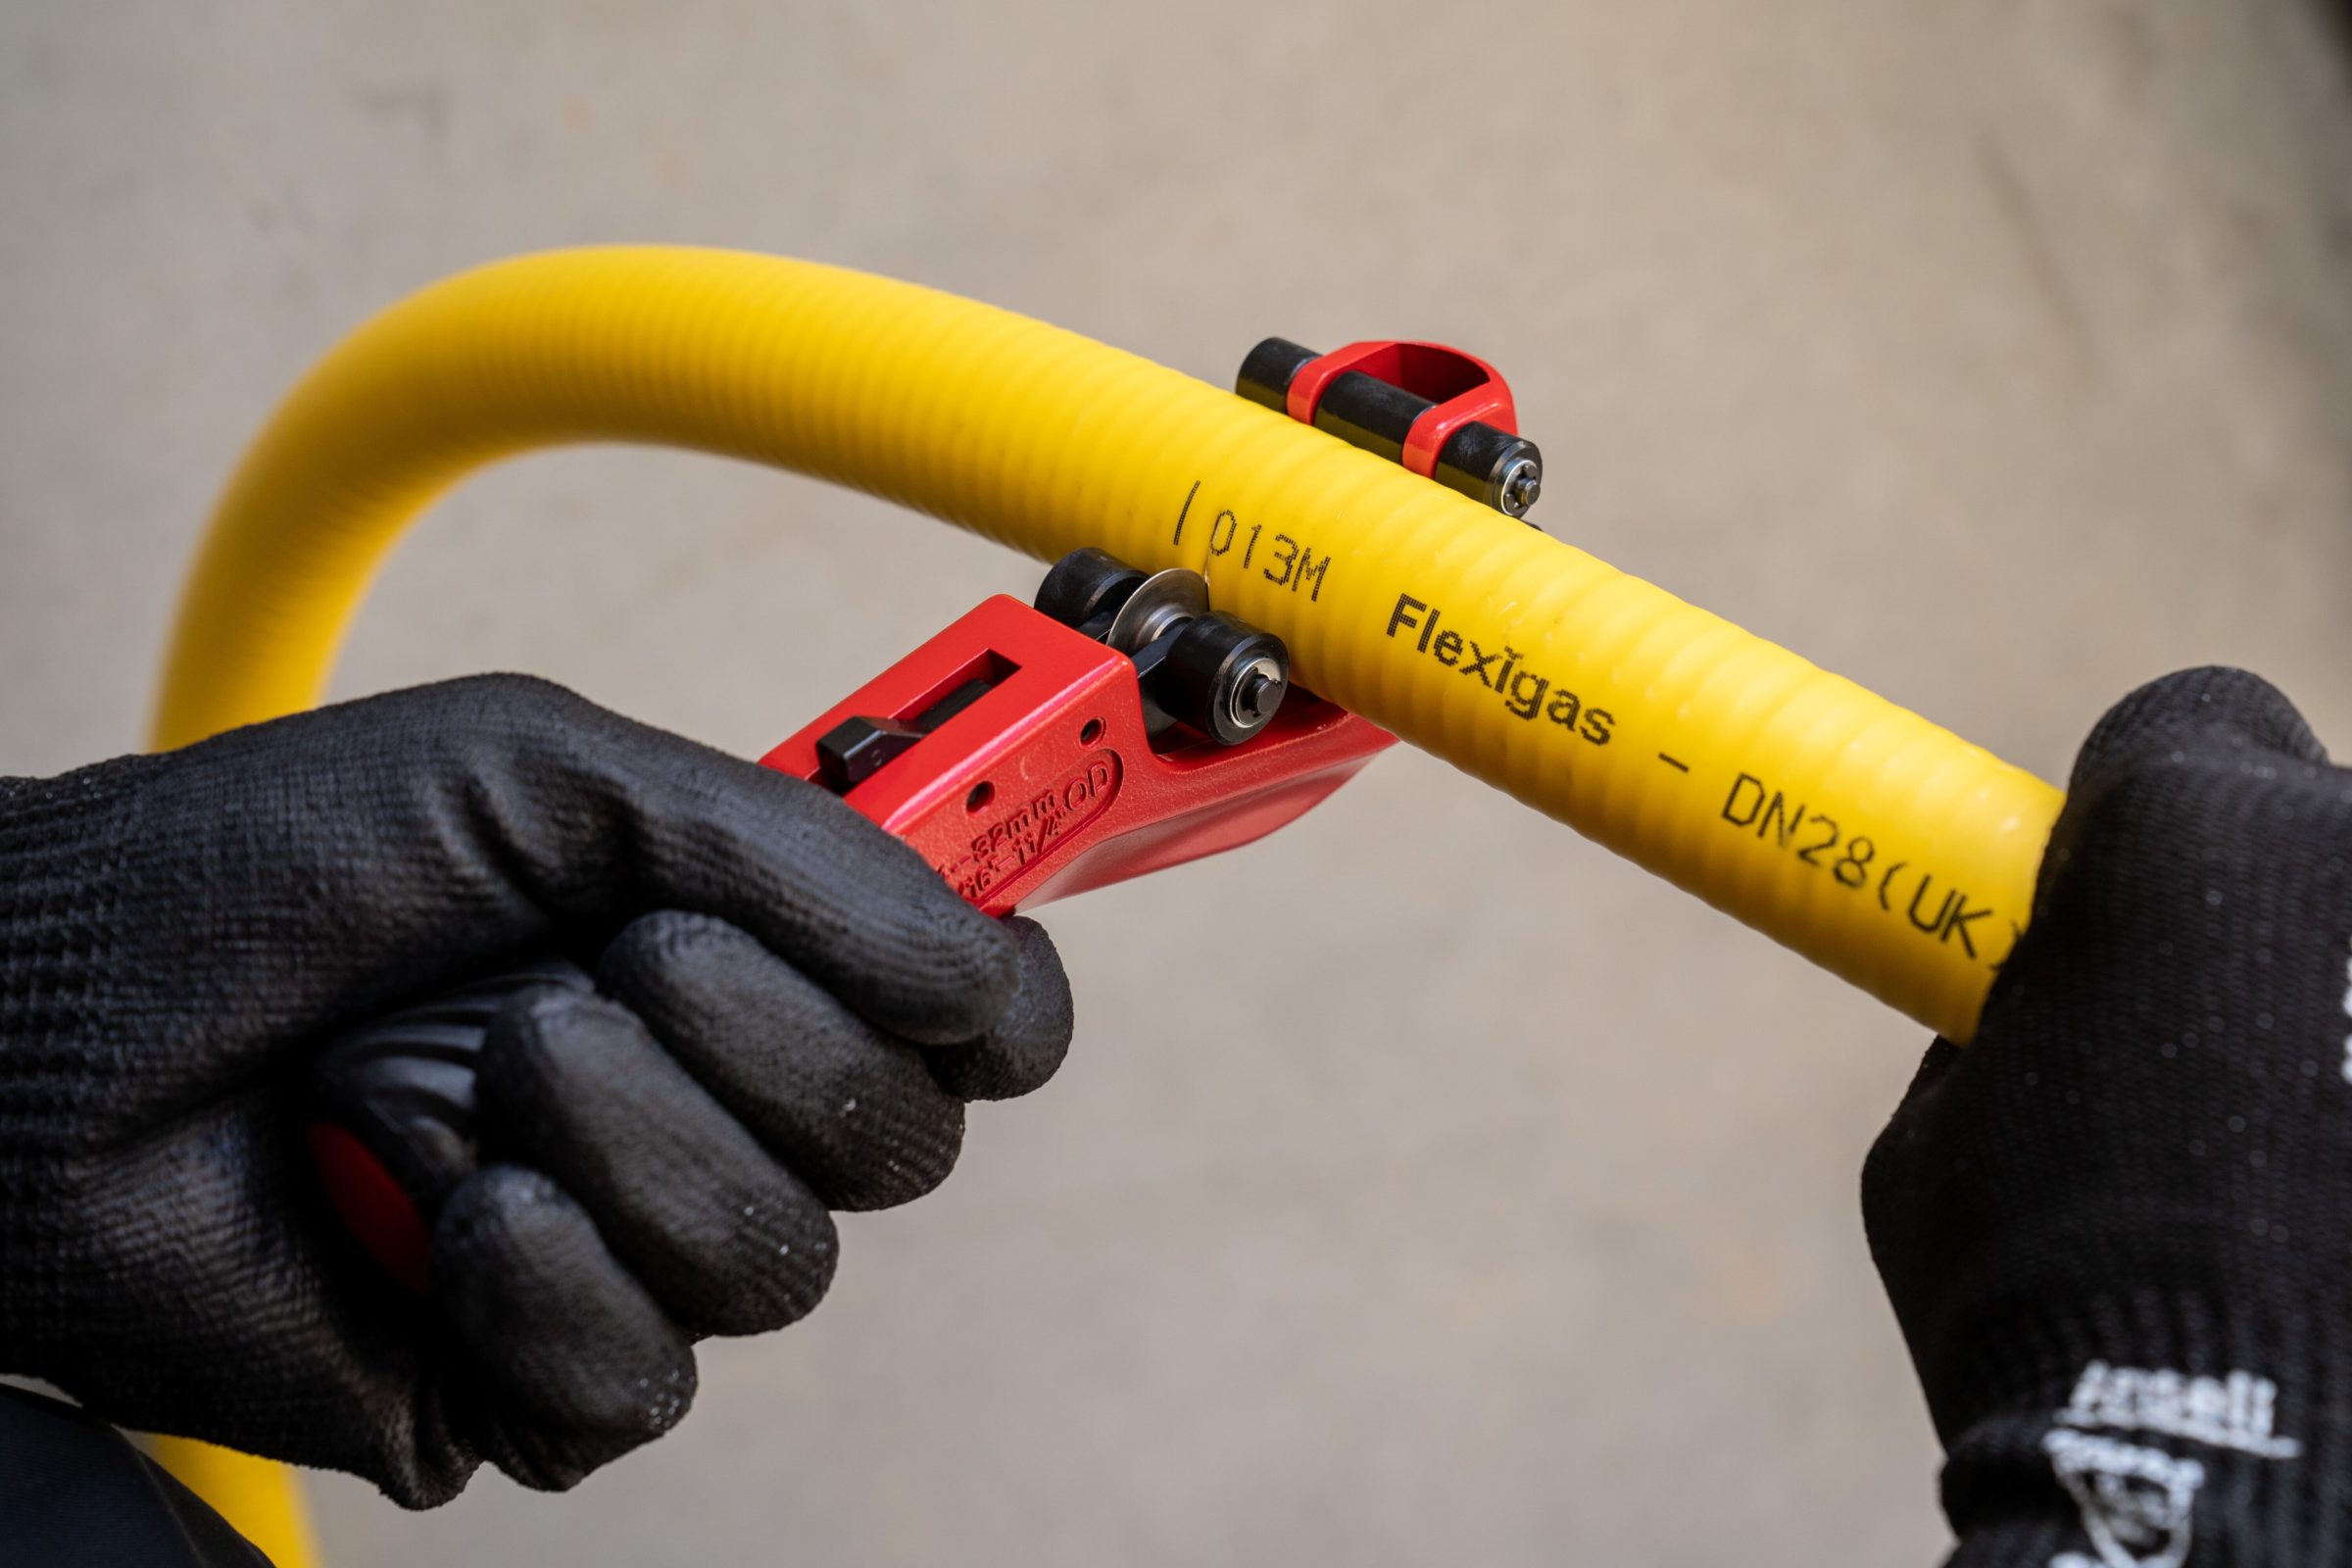
Cut the Flexigas™ tubing using a wheel metal pipe cutter. Ensure the cut is centered in the valley between corrugations and the cutter is only slightly tightened on each full revolution around the tube. Make sure the cut is clean and circular with no sharp edges.
Take Note:
- If a clean, circular cut is not made, or if there are any jagged orsharp edges, a proper seal may not be obtained.
- Use a properly sized tubing cutter with a large wheel, especially for larger sizes. Flexigas CSST cutter with support wheels are available.
- Do not use circular copper tubing cutters.
Step 3 - Remove
With a utility knife, safely remove a section of the flame retardant yellow cover from the inner Flexigas™ tubing, so that the last four corrugations are exposed. Do not remove any of the yellow cover from the external sleeve
Step 4 - Place the Duct Cap in Position
An optional duct cap can be used to give a neater appearance, and to centre the Flexigas™ tubing in the centre of the sleeving. This step is optional, but will give a neater appearance.
Step 5 - Slide
Slide the nut over the tubing and then place the two semi-circular collars around the tubing so that the ridges on the collars occupy the last three valleys of the tubing.
Take Note: The split collars need to be placed such that one corrugation sits in front of the leading edge of the collar.
Step 6 - Tighten
Tighten the nut and fitting using two suitably sized wrenches. The seal is formed when the last corrugation deforms against the seat inside the fittings. Use sufficient torque.
Take Note:
- For easiest installation, use a properly sized wrench or spanner with a long handle length for maximum torque. For DN40/DN50a 24” Stillson wrench (or larger) is recommended.
- Use sufficient torque. A proper seal is only made when the last corrugation is fully flattened and compressed against the fitting seat.
Step 7 - Wrap
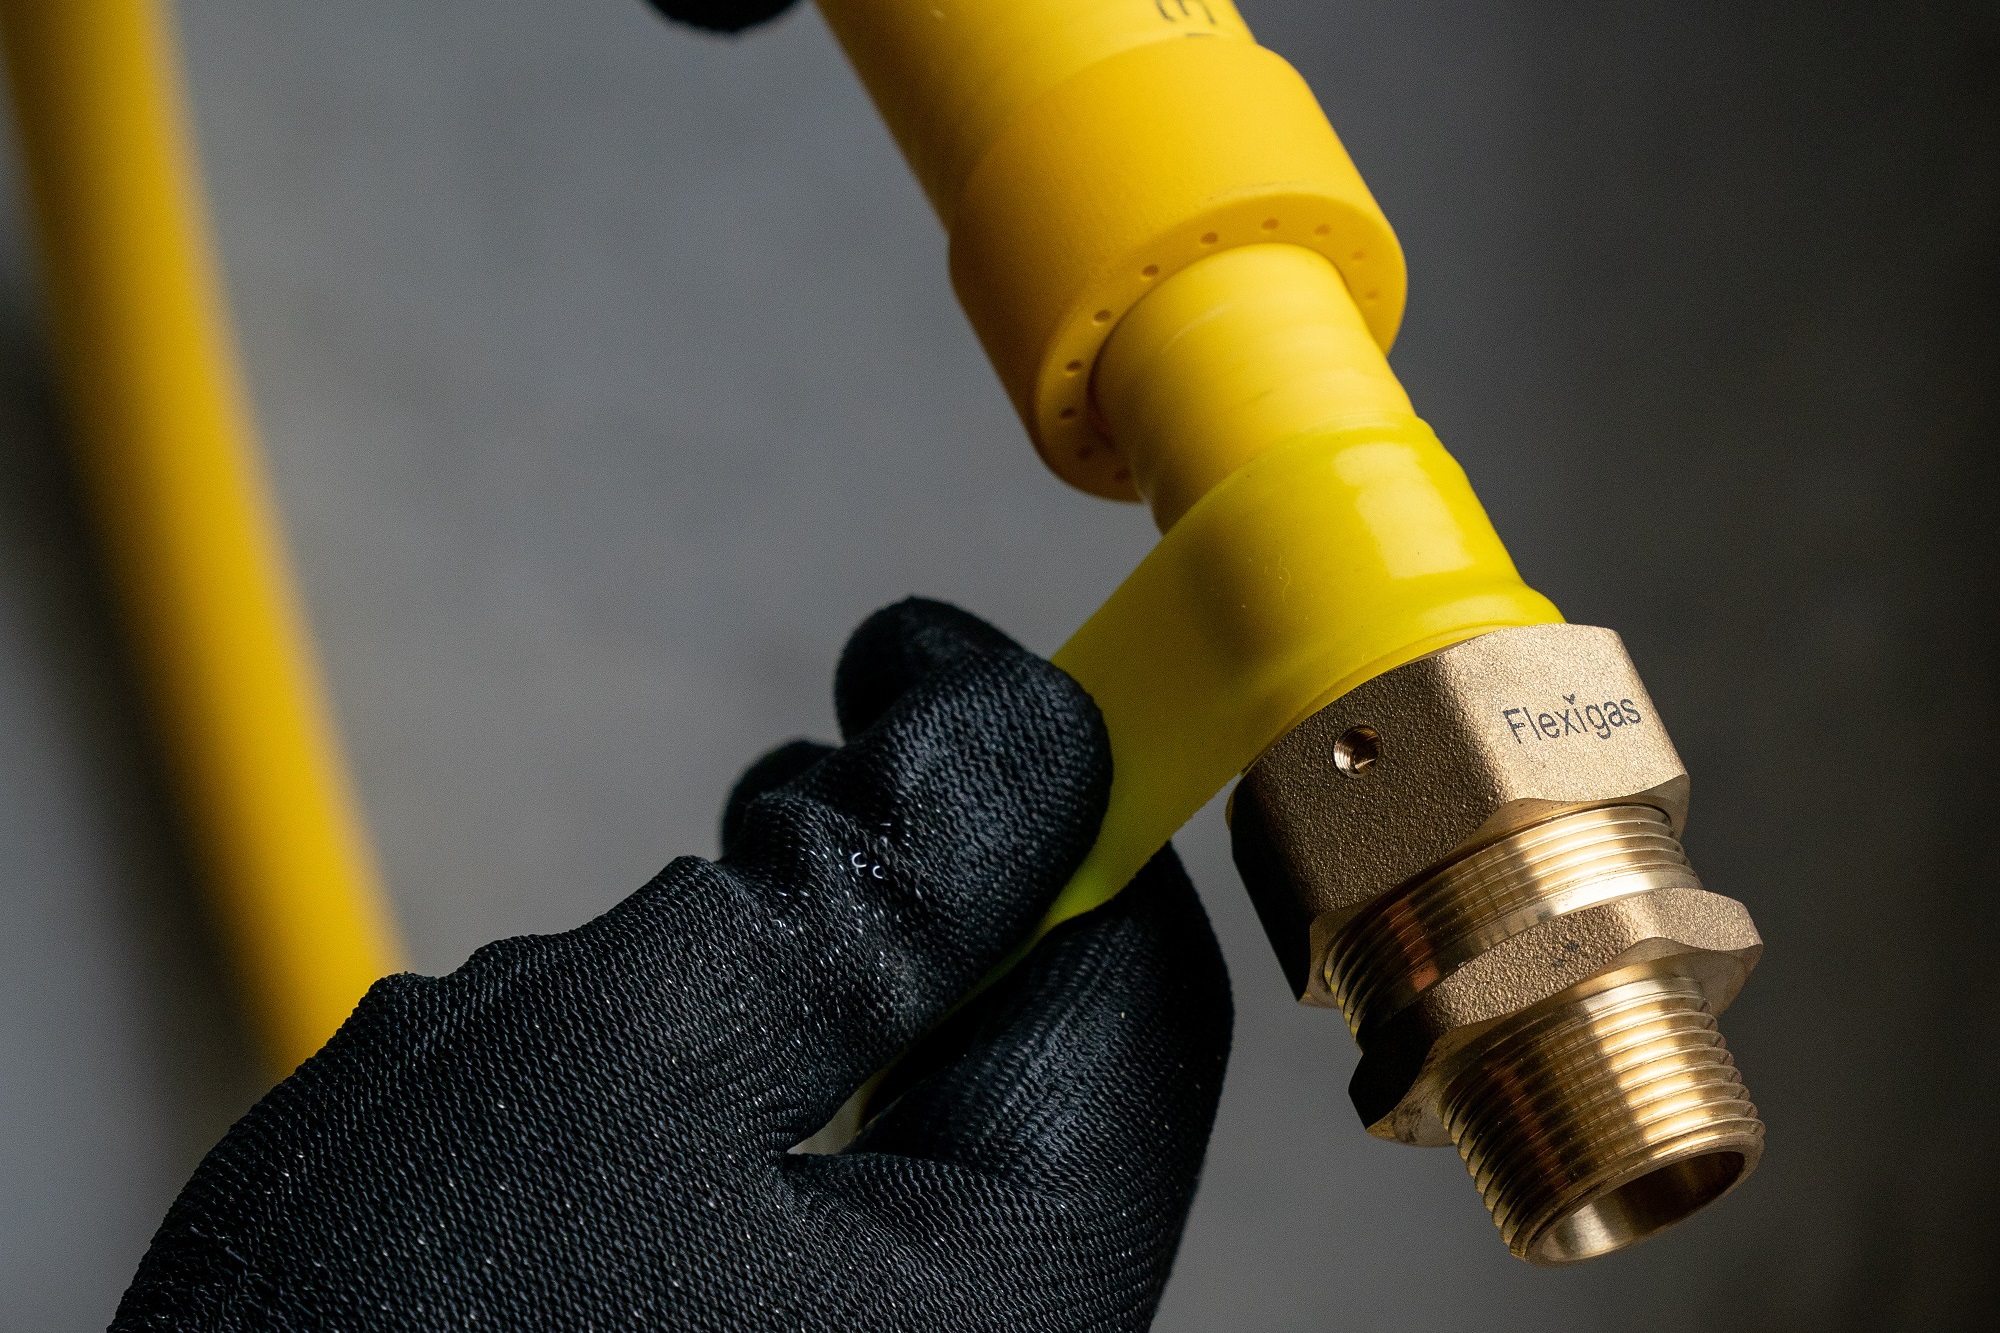
After conducting a gas tightness test, wrap the small gap between the “tail” on the nut and tube using yellow silicone tape. All Flexigas™ tube boxes and spools include FREE silicone tape. If you are attaching the fittings at a later date, make sure you keep the tape in a safe place
Step 8 - Attach
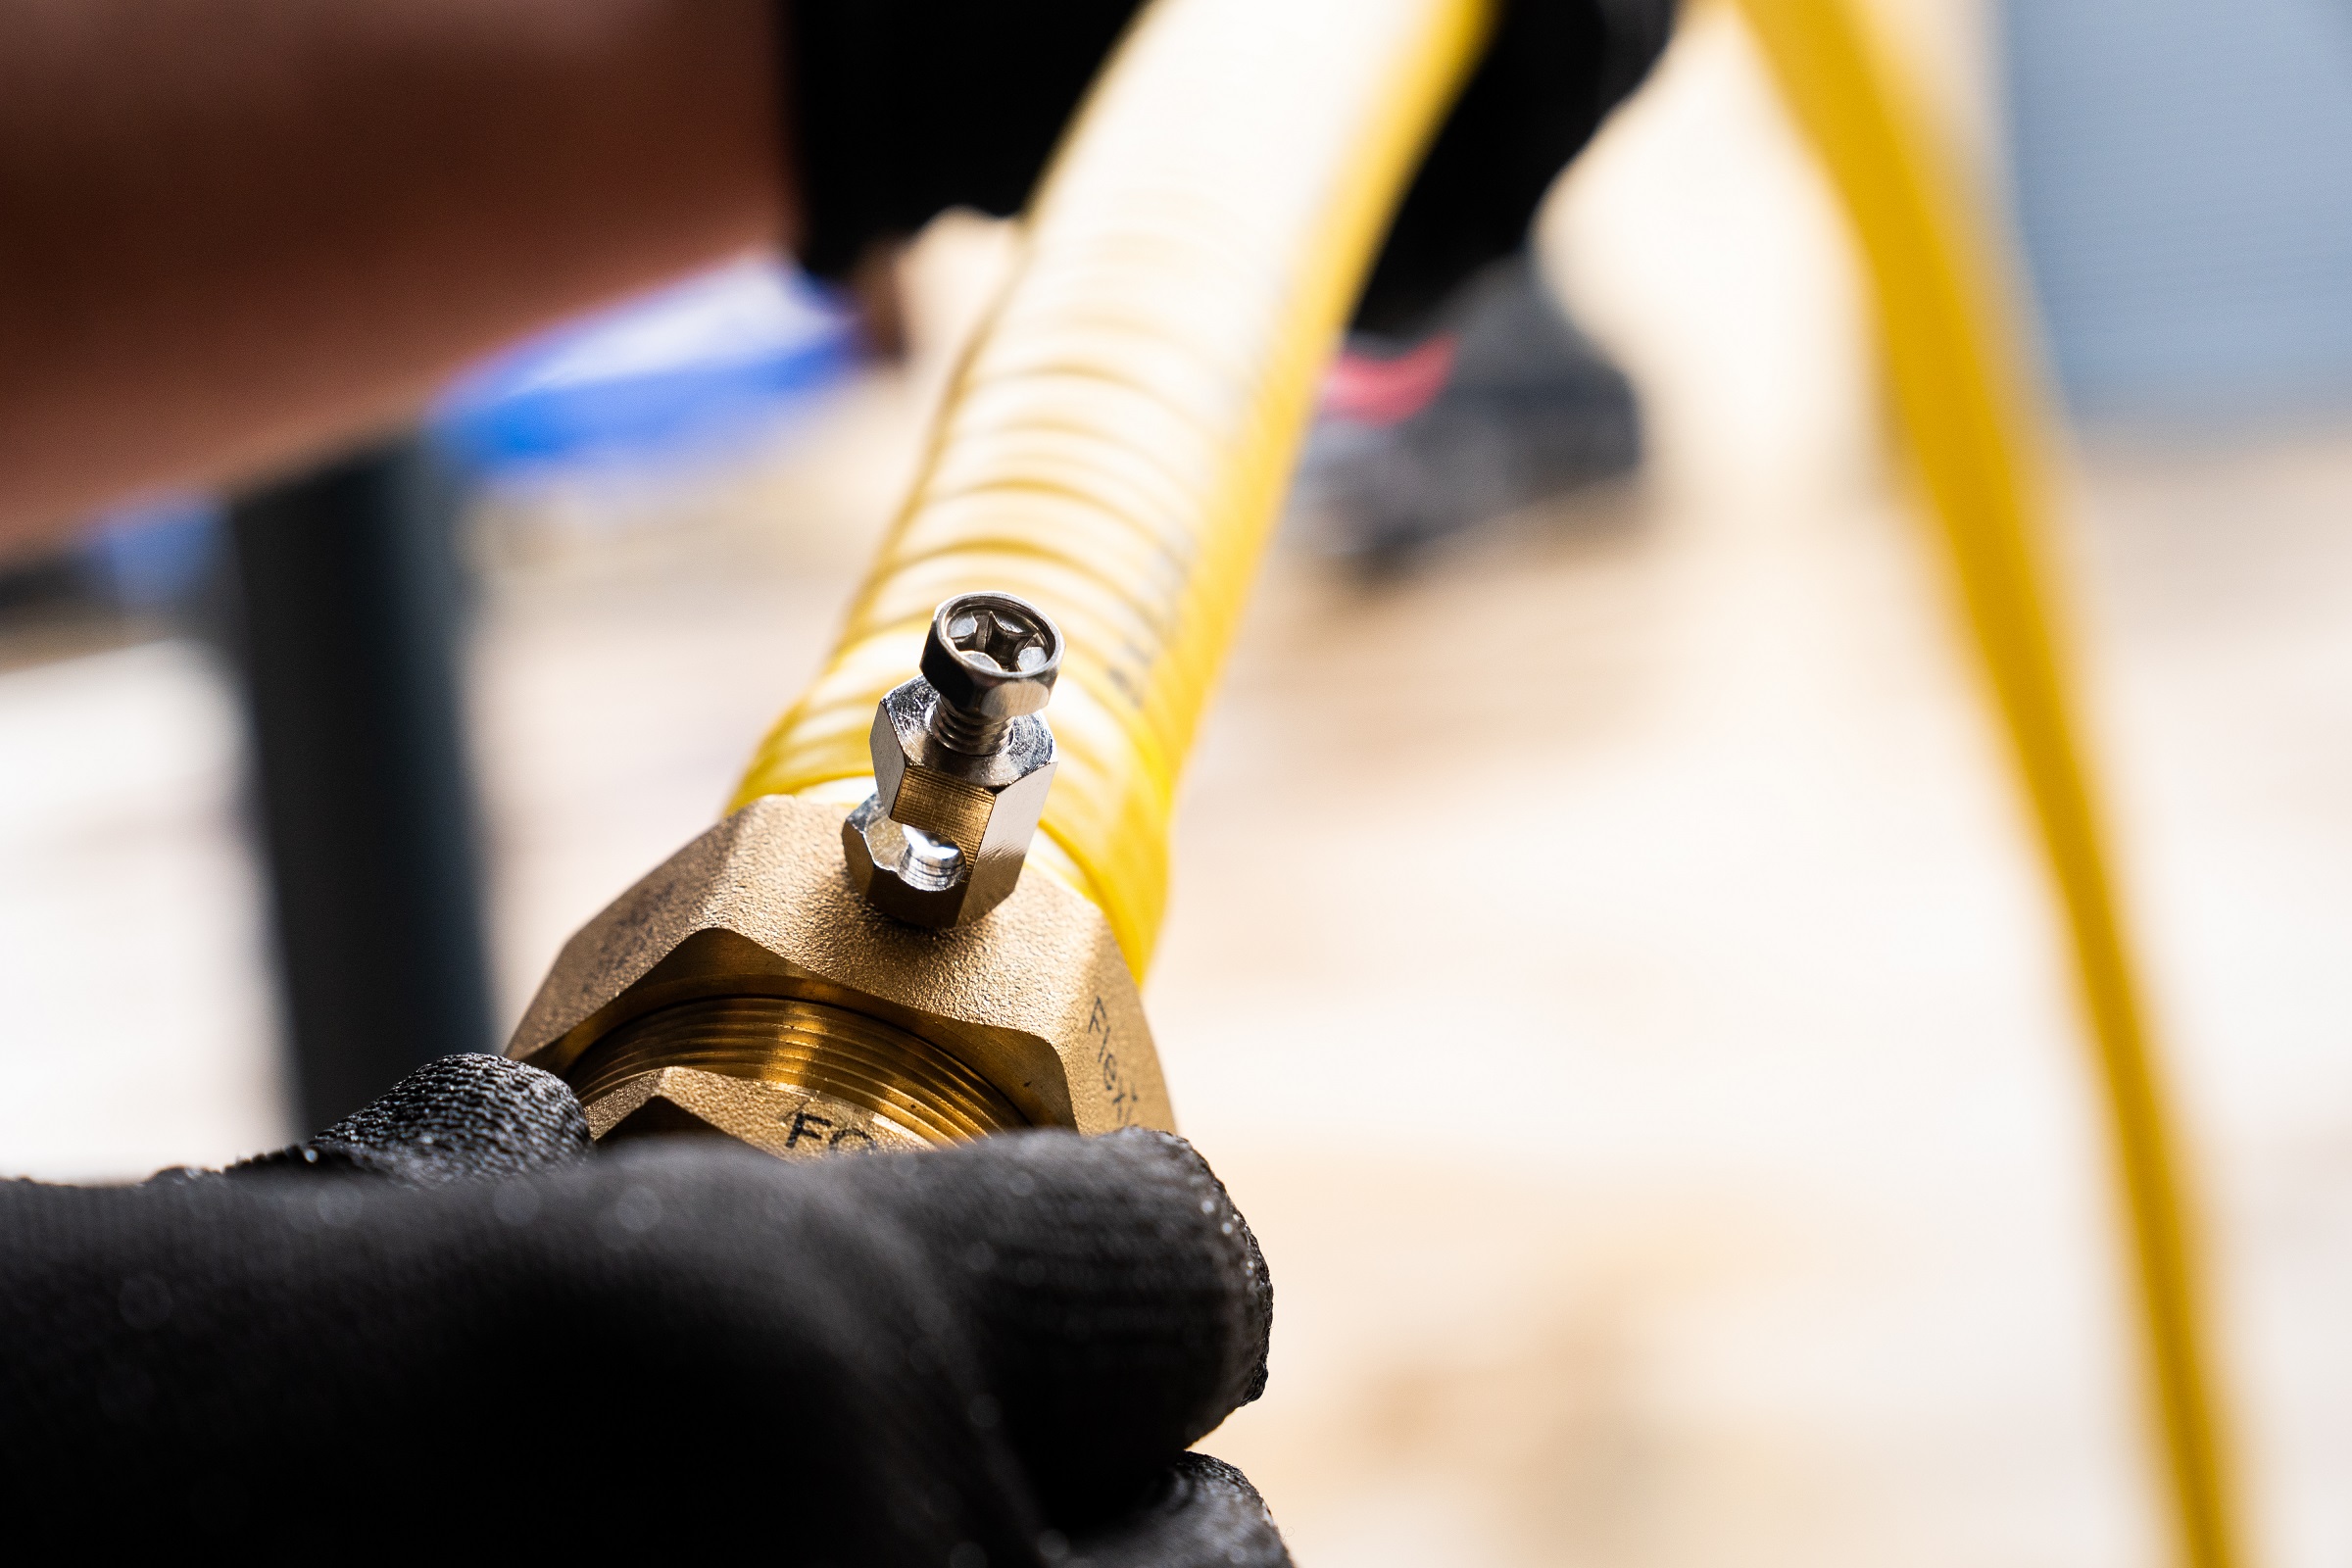
Place the warning notice between earthing terminal and the nut, and then attach the earthing terminal to the nut.
Step 9 - Bond
Strip earthing cable to reveal 1-2cm of copper wire. Screw down onto copper wire.
Download the Full Installation Guide
Order Flexigas DS For Your Next Project
Now that you have seen how easy it is to install Flexigas DS you can contact us to discuss using Flexigas for your next project.
Flexigas. Always Innovating.


