Installation Guide
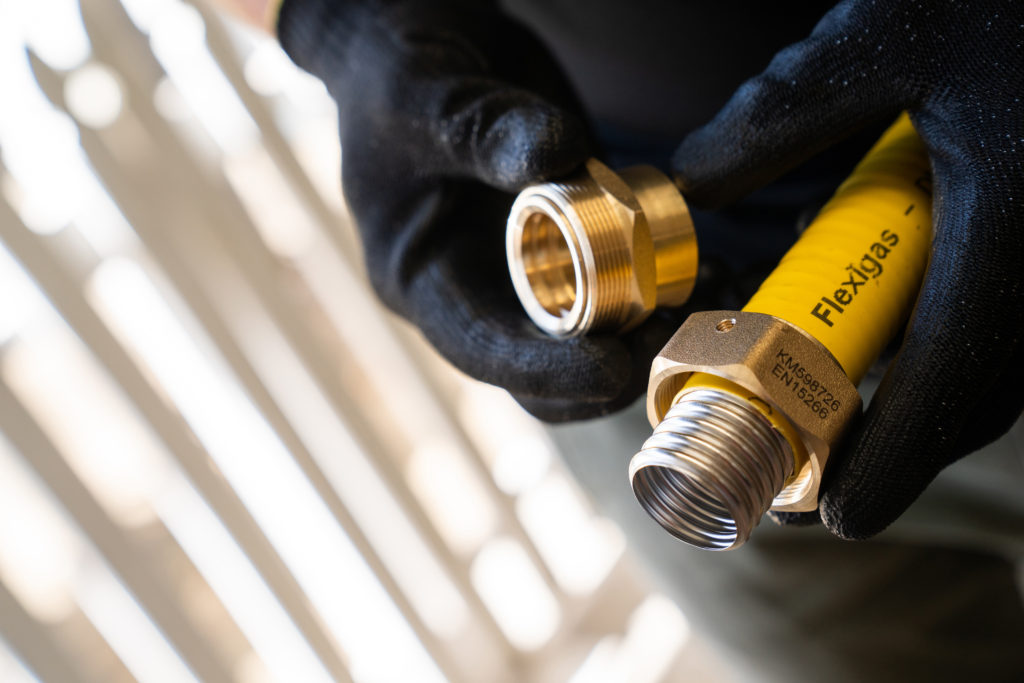
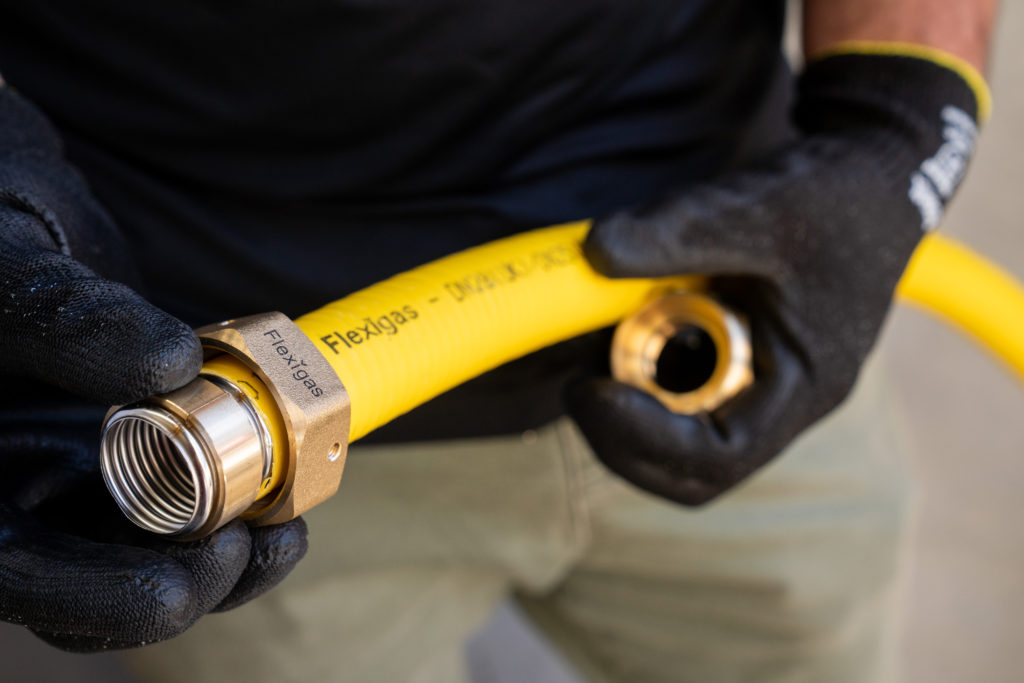
Flexigas’s CSST products typically save up to 75% of the time required for copper or steel installations. Flexigas CSST can be bent by hand without the need for joints or hot works and can be passed through interior spaces easily using a continuous length of tubing. The patented Flexigas fittings ensure a secure seal in a matter of seconds, without the need for any specialist tools. No soldering, sealants or heavy crimping tools are needed for any of Flexigas’s CSST products.
Step 1 - Cut
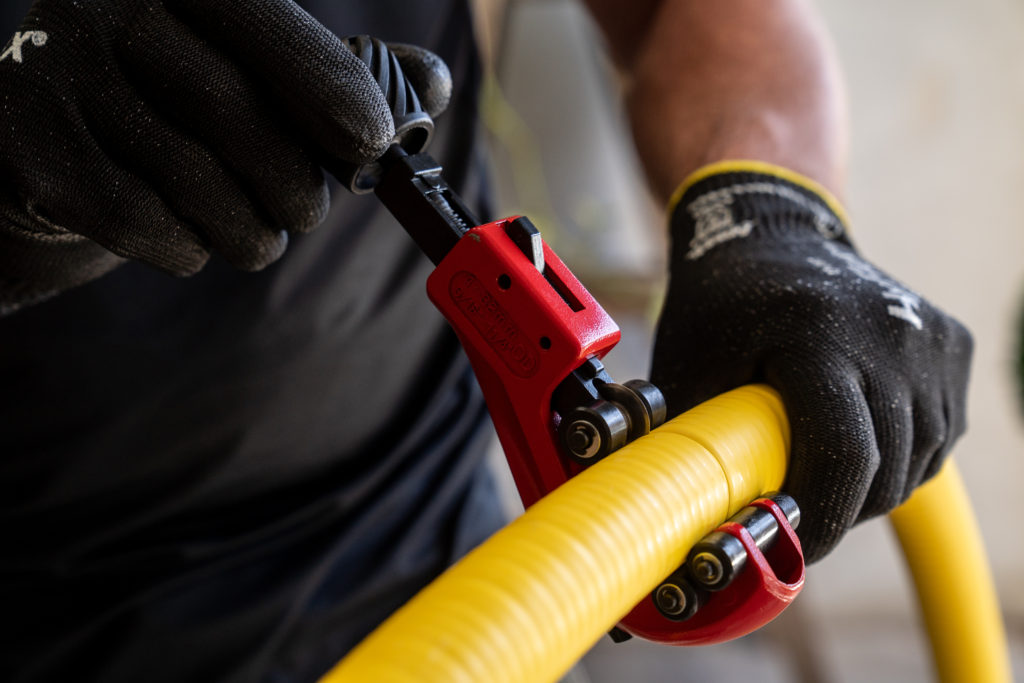
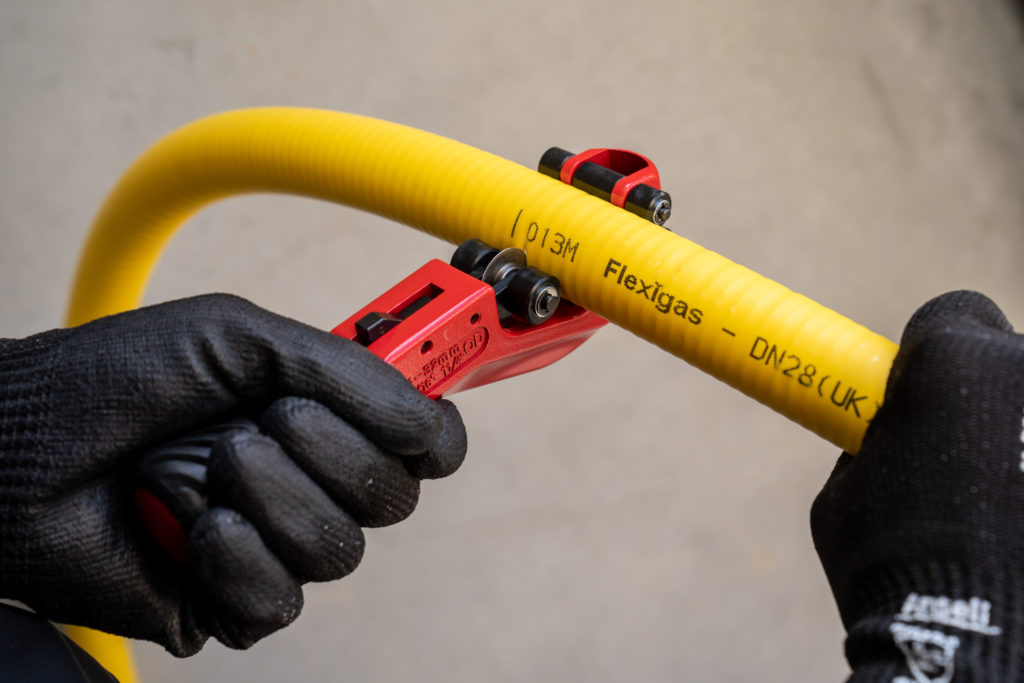
Using a wheel metal pipe cutter, ensure the cut is centred in the valley between corrugations and the cutter is only slightly tightened on each full revolution around the tube. Make sure the cut is clean and circular with no sharp edges.
Step 2 - Remove
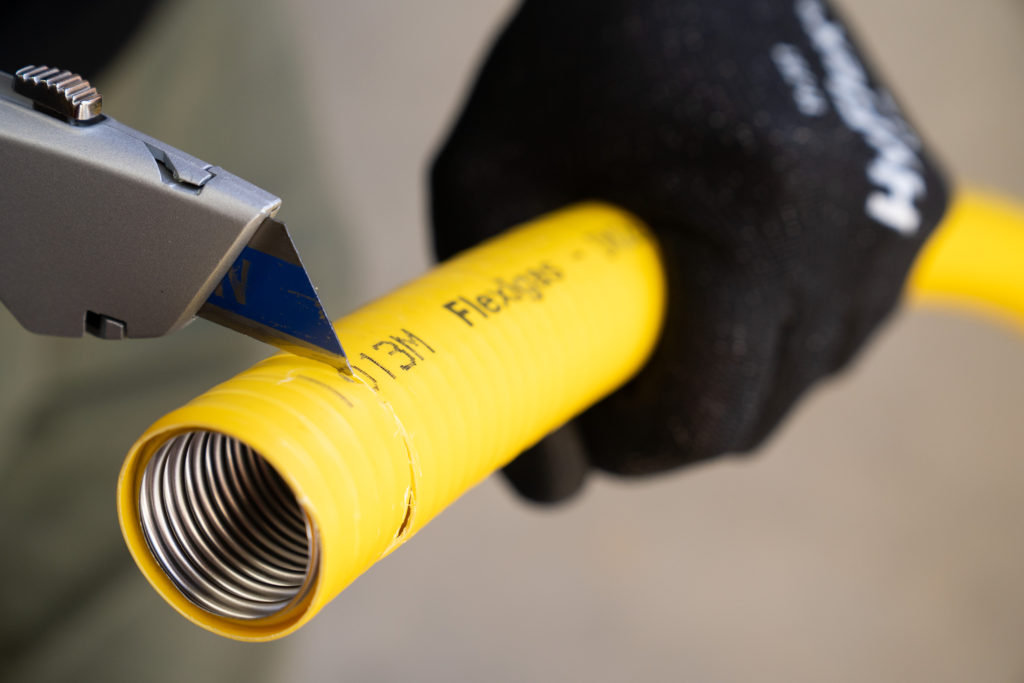
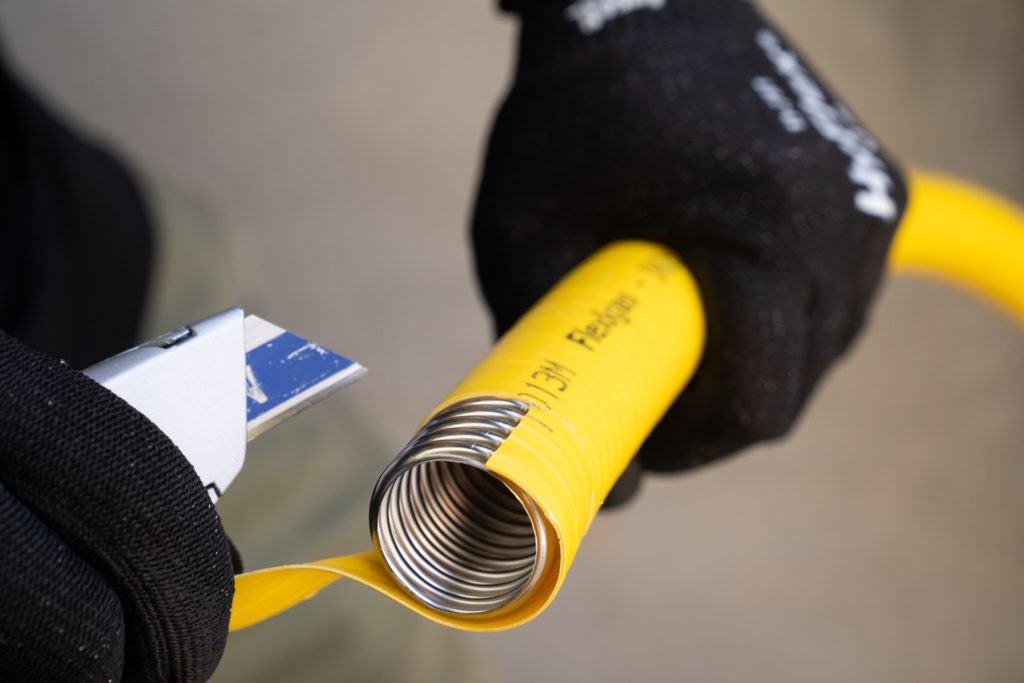
With a utility knife, safely remove the flame retardant yellow cover so that the last four corrugations are exposed.
Step 3 - Slide
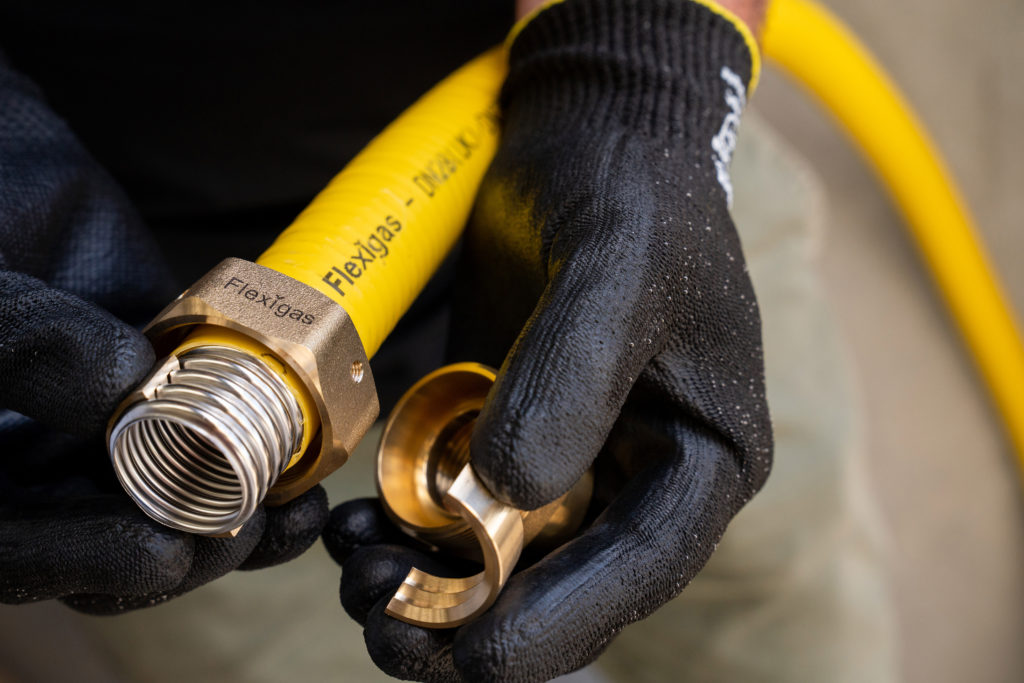
Slide the nut over the tubing and then place the two semi-circular collets around the tubing so that the ridges on the collets occupy the last three valleys of the tubing.
Step 4 - Tighten
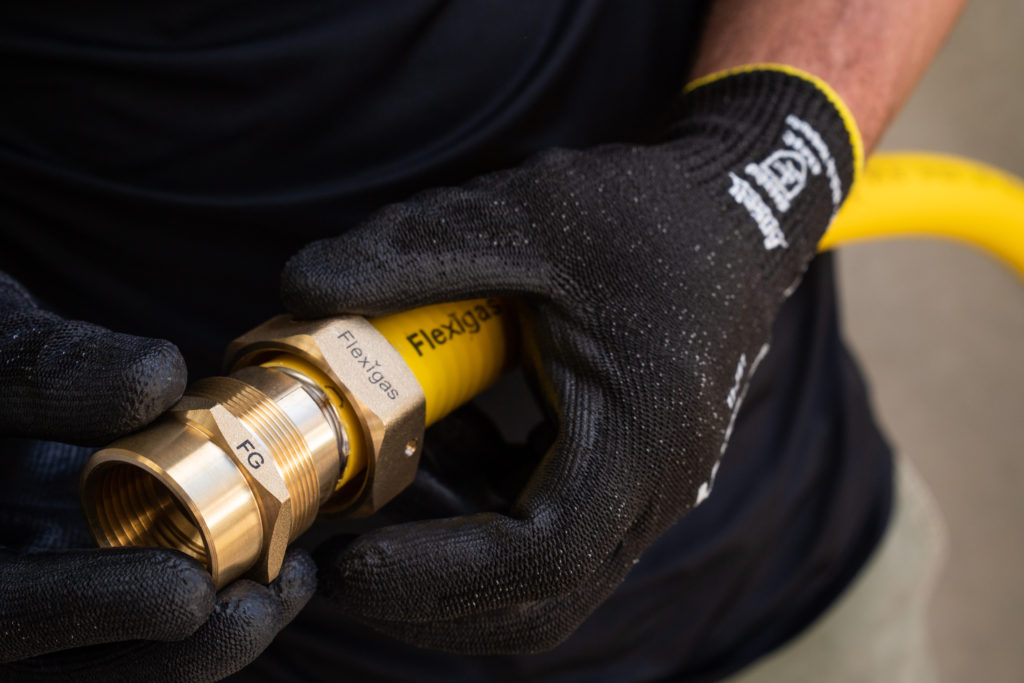
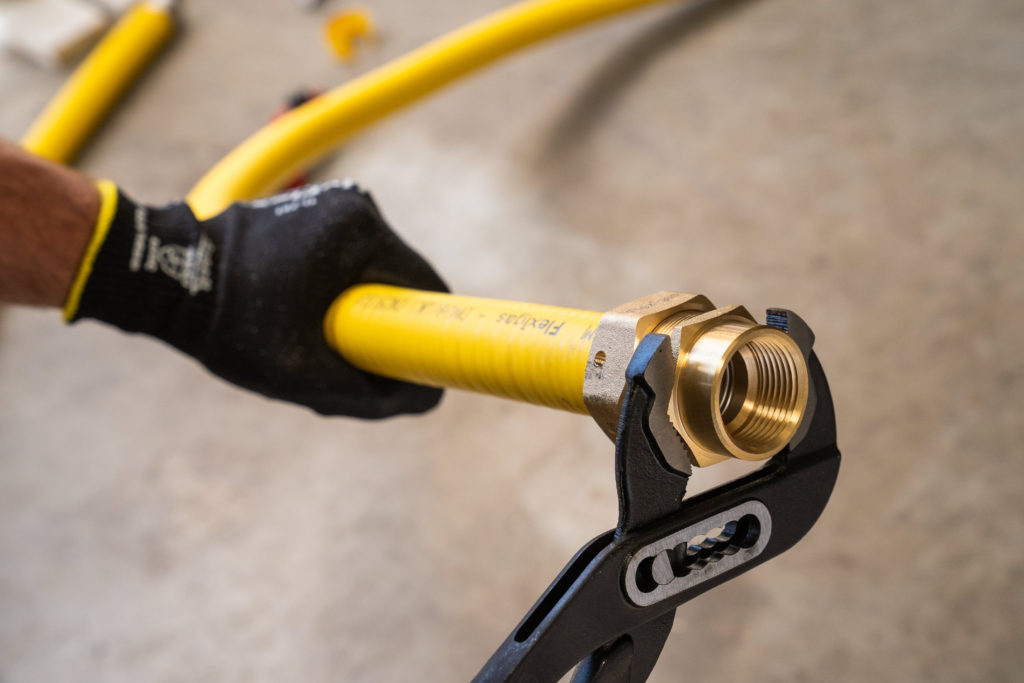
Tighten the nut and fitting using two suitably sized wrenches. The seal is formed when the last corrugation deforms around the seat inside the fitting. Use sufficient torque.
Step 5 - Wrap
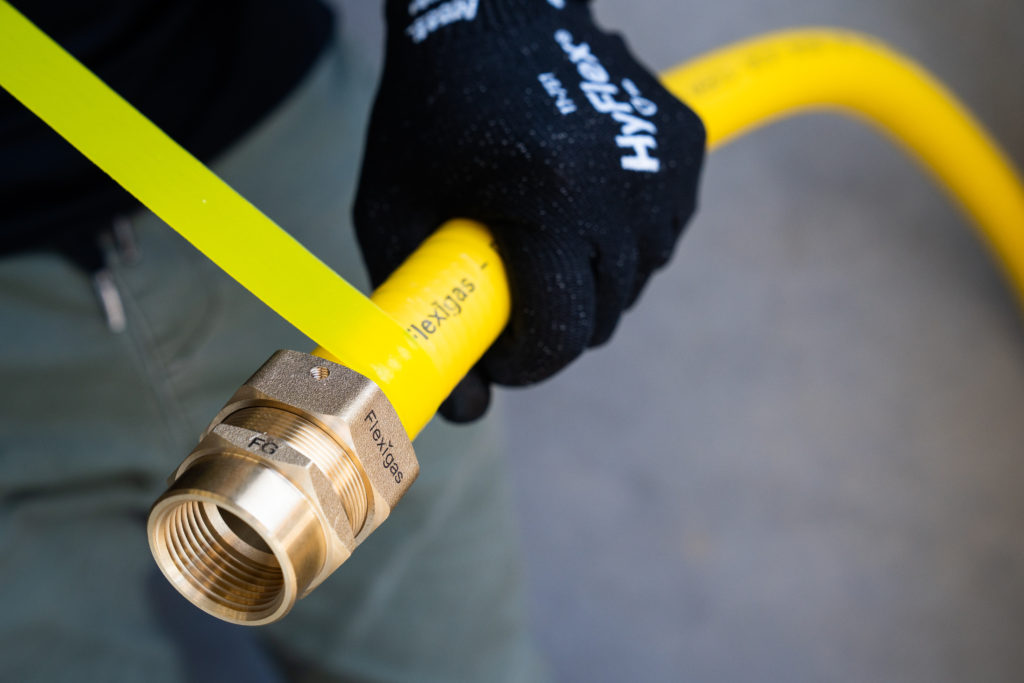
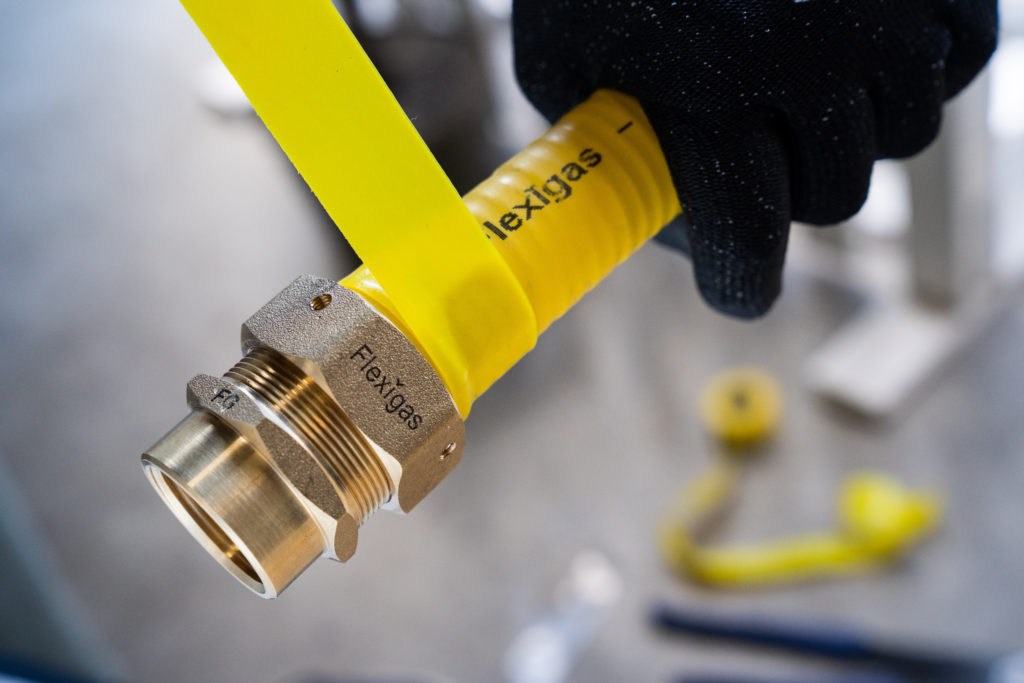
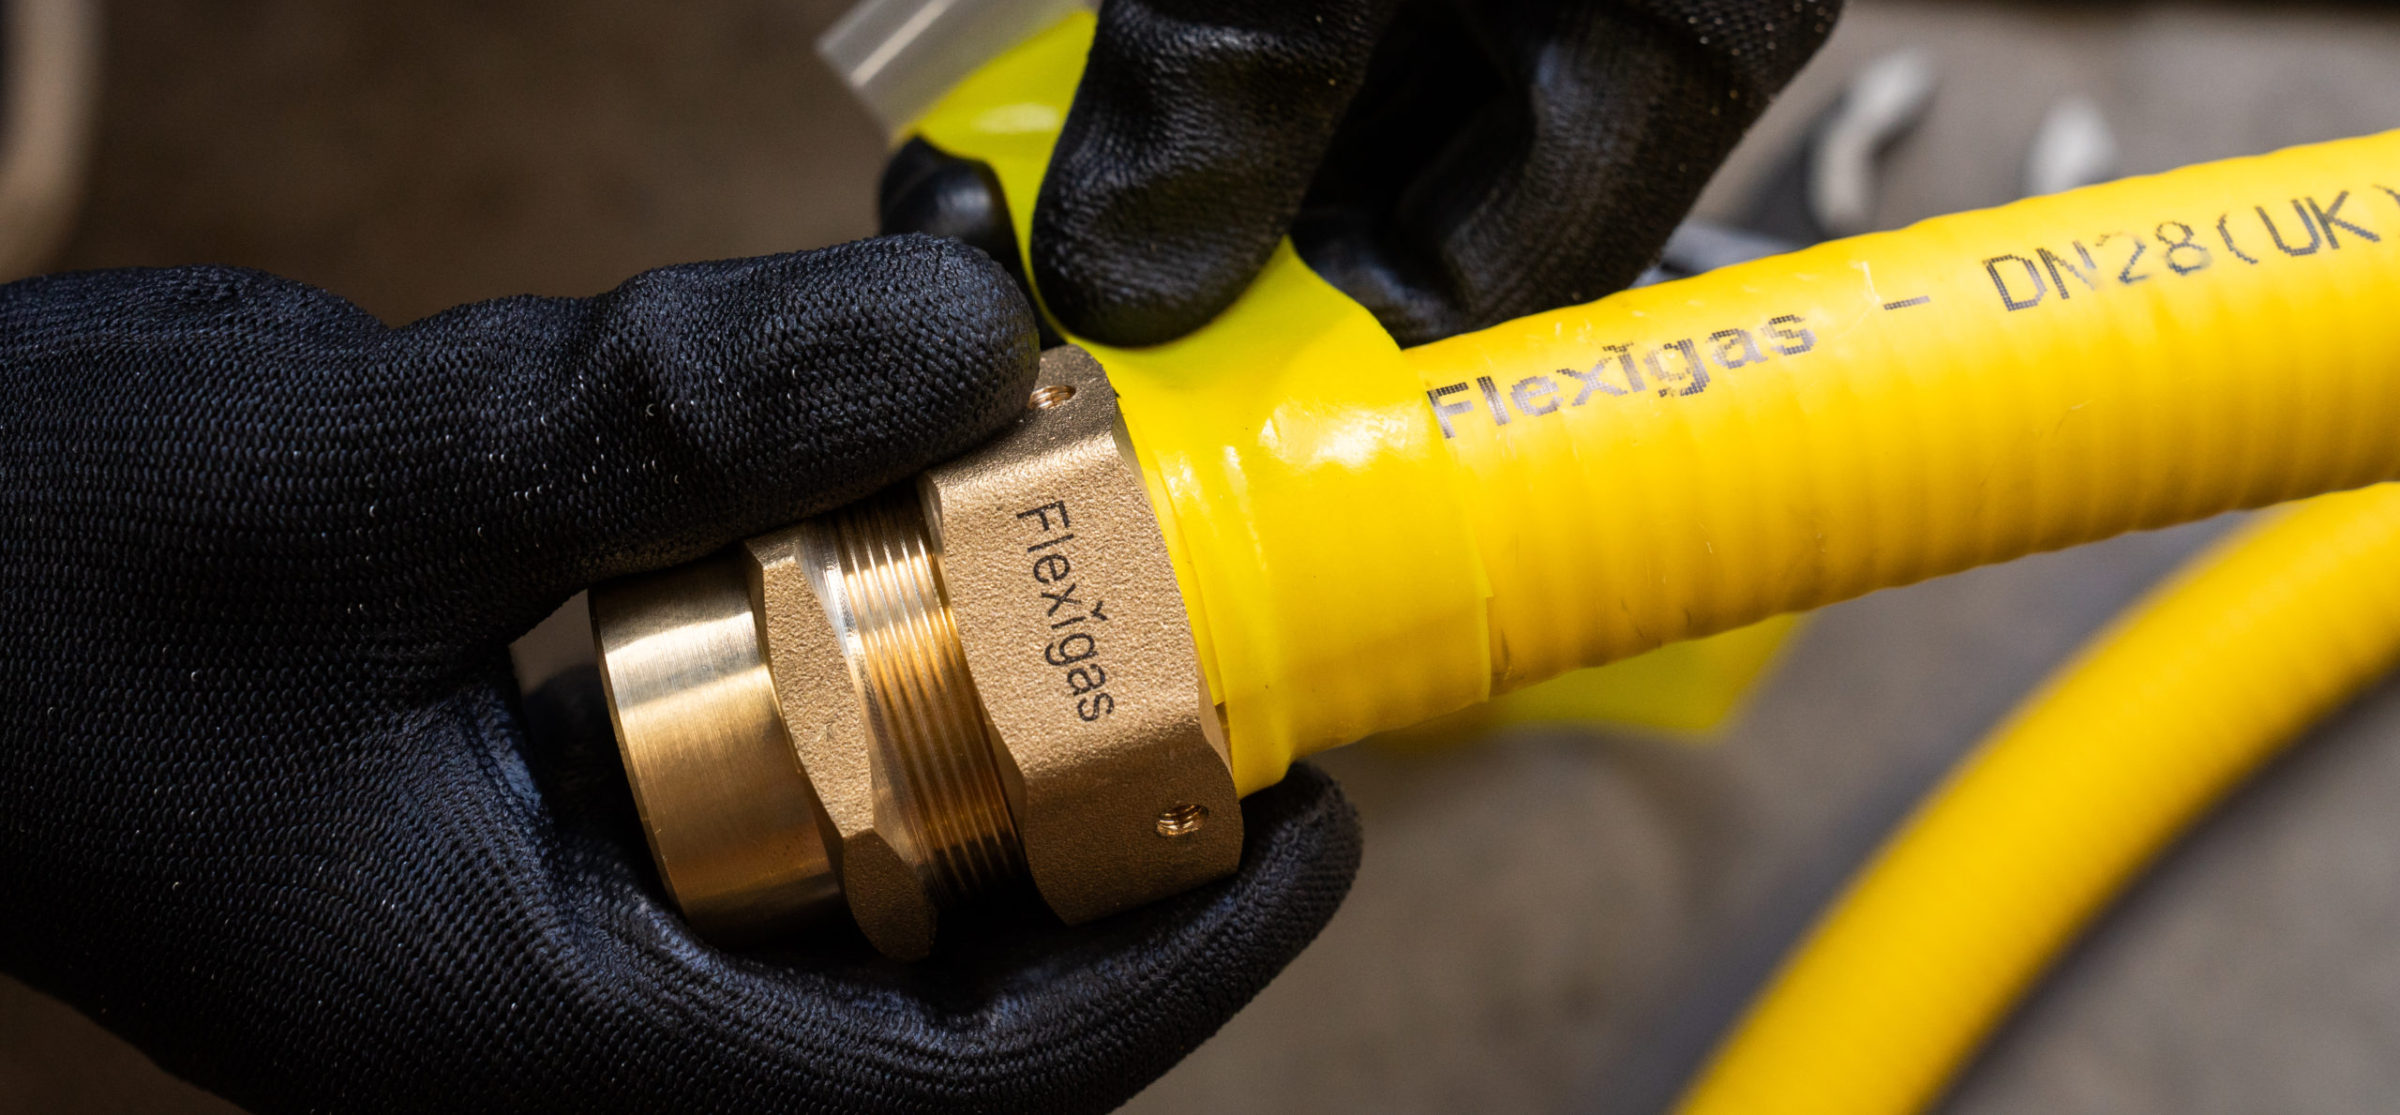
After conducting a gas tightness test, wrap the small gap between the “tail” on the nut and tube using yellow silicone tape.
Step 6 - Attach
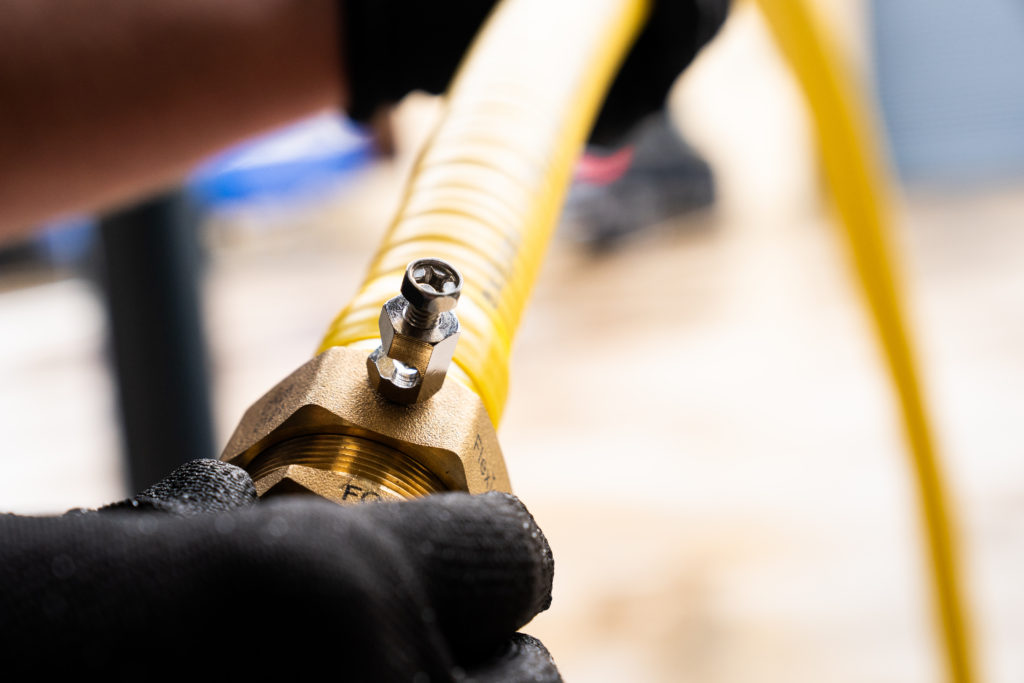
Attach the FG Bond to the fitting body using the pre-drilled holes.
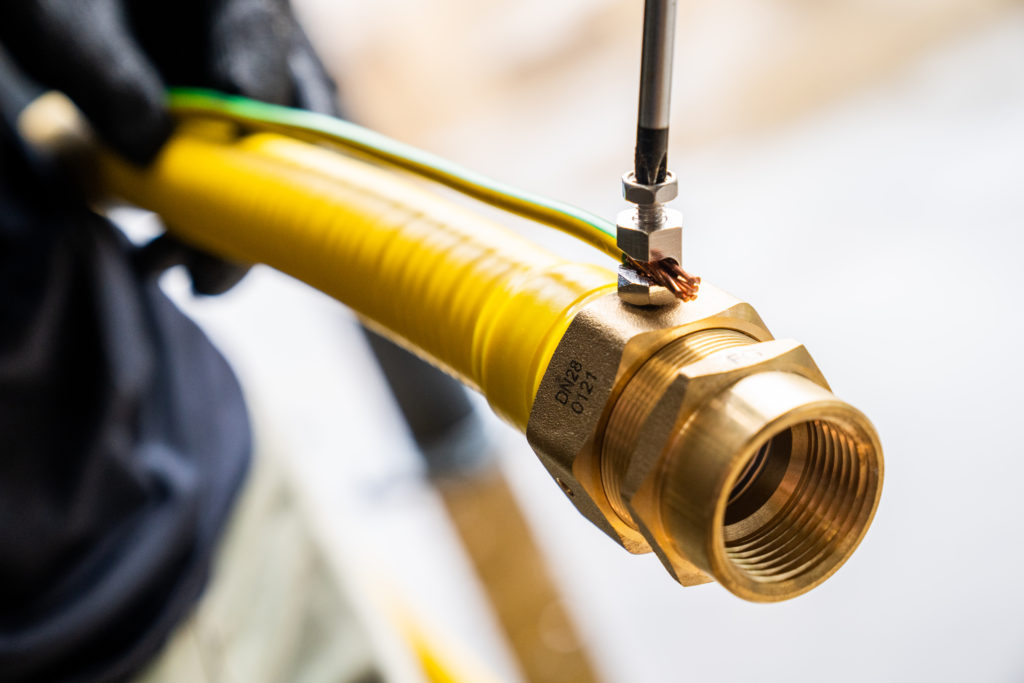
Step 7 - Bond
Strip earthing cable to reveal 1-2cm of copper wire. Screw down onto copper wire with earthing cable running parallel to Flexigas tubing.
Download the Full Installation Guide
Order Flexigas CSST For Your Next Project
Now that you have seen how easy it is to install Flexigas CSST you can contact us to discuss using Flexigas for your next project.
Flexigas. Always Innovating.

